Let’s be honest for a second: dealing with a stuck valve or a leaky pipe is one of the most frustrating things in a home or industrial setting.
You turn the handle, it just won’t budge, or water is spraying out from under your sink.
I’ve spent countless weekends wrestling with plumbing issues, and from what I’ve seen, most people make the exact same mistakes: over-tightening a handle until it snaps or ignoring a slow drip until the whole room is flooded.
Understanding how to work with valves isn’t just for professional plumbers or factory engineers.
Whether you’re dealing with a simple residential shut-off valve or a larger industrial ball valve, knowing the basics of valve types and repair can save you a fortune in call-out fees.
In this guide, we’re going to break down the mechanics of valves, help you identify the right type for your needs, and walk you through the actual steps to stop that leak for good.
But there’s a catch.
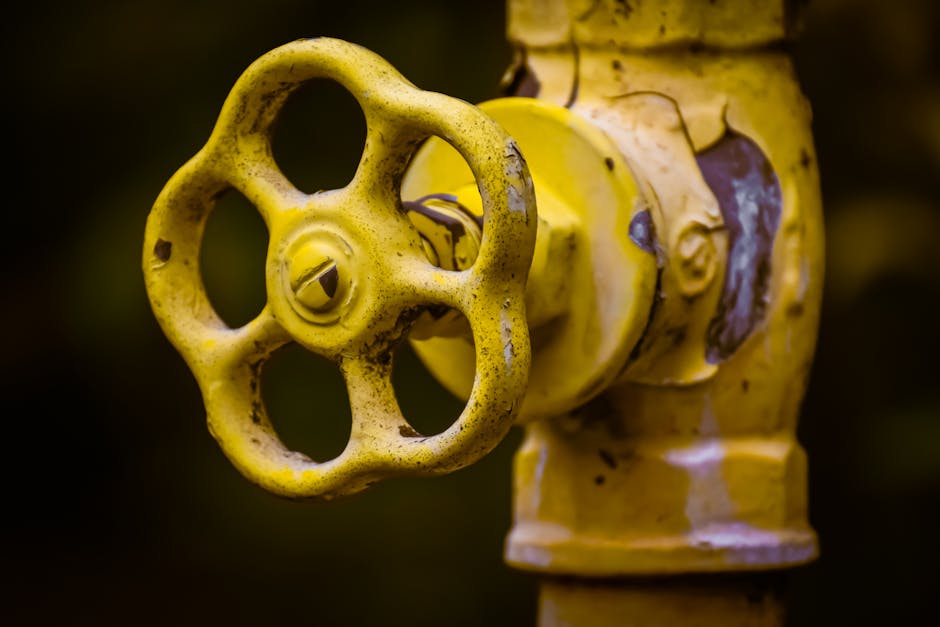
The Big Three: Understanding Valve Types
Before you grab a wrench, you need to know what you’re looking at.
The world of valves is surprisingly diverse, but three types dominate the landscape.
Most beginners can’t tell the difference between a ball valve and a gate valve at first glance, but they behave very differently under pressure.
The Workhorse: The Ball Valve
The ball valve is arguably the most common valve found in modern plumbing and industrial systems.
It gets its name from the internal ball mechanism that acts as the gatekeeper.
Inside the body, there’s a rotating ball with a hole drilled through the center.
When the handle is parallel to the pipe, water flows freely.
When you rotate it 90 degrees, the hole aligns perpendicular to the pipe, blocking the flow.
Why do engineers love these? Because they’re reliable and quick.
A quarter-turn is all it takes to open or close the system.
They are generally better for on/off control than regulating flow, but they are surprisingly durable.
The Old School Choice: The Gate Valve
You’ll still find these in older buildings and industrial plants.
A gate valve uses a wedge-shaped gate to block flow.
You have to turn the handle multiple times—usually a full 90-degree turn—to fully open or close it.
Here’s the catch, though: if you leave a gate valve partially open for a long time, the water flow can actually erode the gate, causing it to stick or leak.
If you have a choice, most modern pros recommend replacing gate valves with ball valves.
Control Freak: The Globe Valve
Oddly enough,
These are designed for flow control, not just stopping it.
They have a spherical obstruction inside that lets you adjust the flow rate very precisely.
However, they create a lot of friction, so they’re not used as shut-off valves; they’re used where you need to throttle the water, like in a radiator system or specific industrial process lines.
And this is where things get interesting.
Why Your Valve Handle Won’t Turn
So, you’ve identified the valve as a ball valve, but the handle feels like it’s welded shut.
Don’t force it—you’ll snap the plastic stems or ruin the valve body.
Freezing and Rust
Water hammer is a real phenomenon, and it’s annoying.
The shockwave rattles pipes, but it also causes water to freeze inside the valve stem casing over time.
This is especially common in outdoor shutoff valves during winter.
The rust forms a bond that looks like the valve is locked, but it’s actually just corrosion.
The Fix
First, try spraying some penetrating oil like PB Blaster or WD-40 into the handle mechanism.
Let it sit for 15 minutes.
If that doesn’t work, gently wiggle the handle back and forth while spraying.
You want to break the bond without applying torque.
If you have a stuck gate valve, the internal mechanism might be seized.
Troubleshooting Leaks: The Two Most Common Culprits
Water leaking from the handle (the stem) is a classic problem.
It usually happens for one of two reasons.
- The Washer is Worn: Inside the bonnet of the valve, there’s a rubber seal (washer).
Over years of turning, this hardens and cracks, letting water seep out around the stem.
- Over-Tightening: You tried to fix the leak by turning the handle too far.
This pulls the internal seal away from the seat, causing a leak on the downstream side.
Now think about that for a second.
Step-by-Step: Replacing a Stem Washer (DIY Guide)
This is a repair that is totally doable for an average homeowner.
It requires a wrench, some Teflon tape, and a new washer.
Here’s the interesting part.
- Shut off the water. This seems obvious, but water will spray everywhere the second you crack the valve open.
- Open the valve slightly. Just a crack.
This releases the pressure inside the line so the washer doesn’t pop out and hit you.
- Remove the packing nut. This is the nut right where the handle meets the pipe.
It’s usually a hex nut.
Loosen it.
- Remove the old washer. Behind the packing nut, you’ll see the stem.
Unscrew the bonnet nut (if present) or wiggle the stem out to reveal the washer.
- Replace it. Put the new rubber washer on and screw everything back together. And this is where things get interesting.
Be careful not to over-tighten the packing nut, or the handle will be stiff.
Oddly enough,
Water Hammer: The Noise You Can’t Ignore
Have you ever heard a loud banging noise in your pipes right after you turn off a faucet? That’s water hammer. But there’s a catch.
It happens when fast-moving water slams into a closed valve and creates a shockwave.
It’s not just annoying; it can burst pipes or damage the valve mechanism.
The fix is usually simple: install a water hammer arrestor.
These are small devices that act like a shock absorber, catching the pressure spike.
They’re cheap and can save you a lot of structural damage down the line.
Choosing the Right Material: Brass vs.
Stainless Steel
When buying a replacement valve, you’ll notice a price difference between brass and stainless steel.
I’ve seen customers cheap out and buy plastic valves for their main water lines, only to have them melt in a heat wave or burst under pressure.
For residential and light industrial use, brass is the standard.
It resists corrosion and is easy to work with.
Stainless steel is overkill for home plumbing but is essential for industrial chemical processing where corrosion is a major concern.
If you’re replacing a valve in a high-traffic area, stick to brass.
Final Thoughts on Valve Maintenance
Here’s the interesting part.
Treating your valves like dirt is a mistake. And this is where things get interesting.
Every six months or so, give your main shutoff valves a quick spin to make sure they aren’t seized. But there’s a catch.
Don’t overtighten them—just enough to feel resistance.
By maintaining these simple components, you ensure that when a plumbing emergency actually happens, you have control.
Here’s the interesting part.
Image source: pexels.com
Jack Jones NFL: Why the Raiders Traded for the Controversial Cornerback
The L28 Isn’t Dead: Why This 1970s Engine Still Rules the JDM Scene
Athletic Club vs Atlético Madrid: The Clash of Cultures
The Ultimate Storm Damage Restoration Guide: Save Your Home & Money
Steam Spring Sale 2026: Is It Actually Worth Your Wallet?
Dawson Knox: The Buffalo Bills Tight End You Need to Know About
Image source credit: pexels.com